The Creation Process
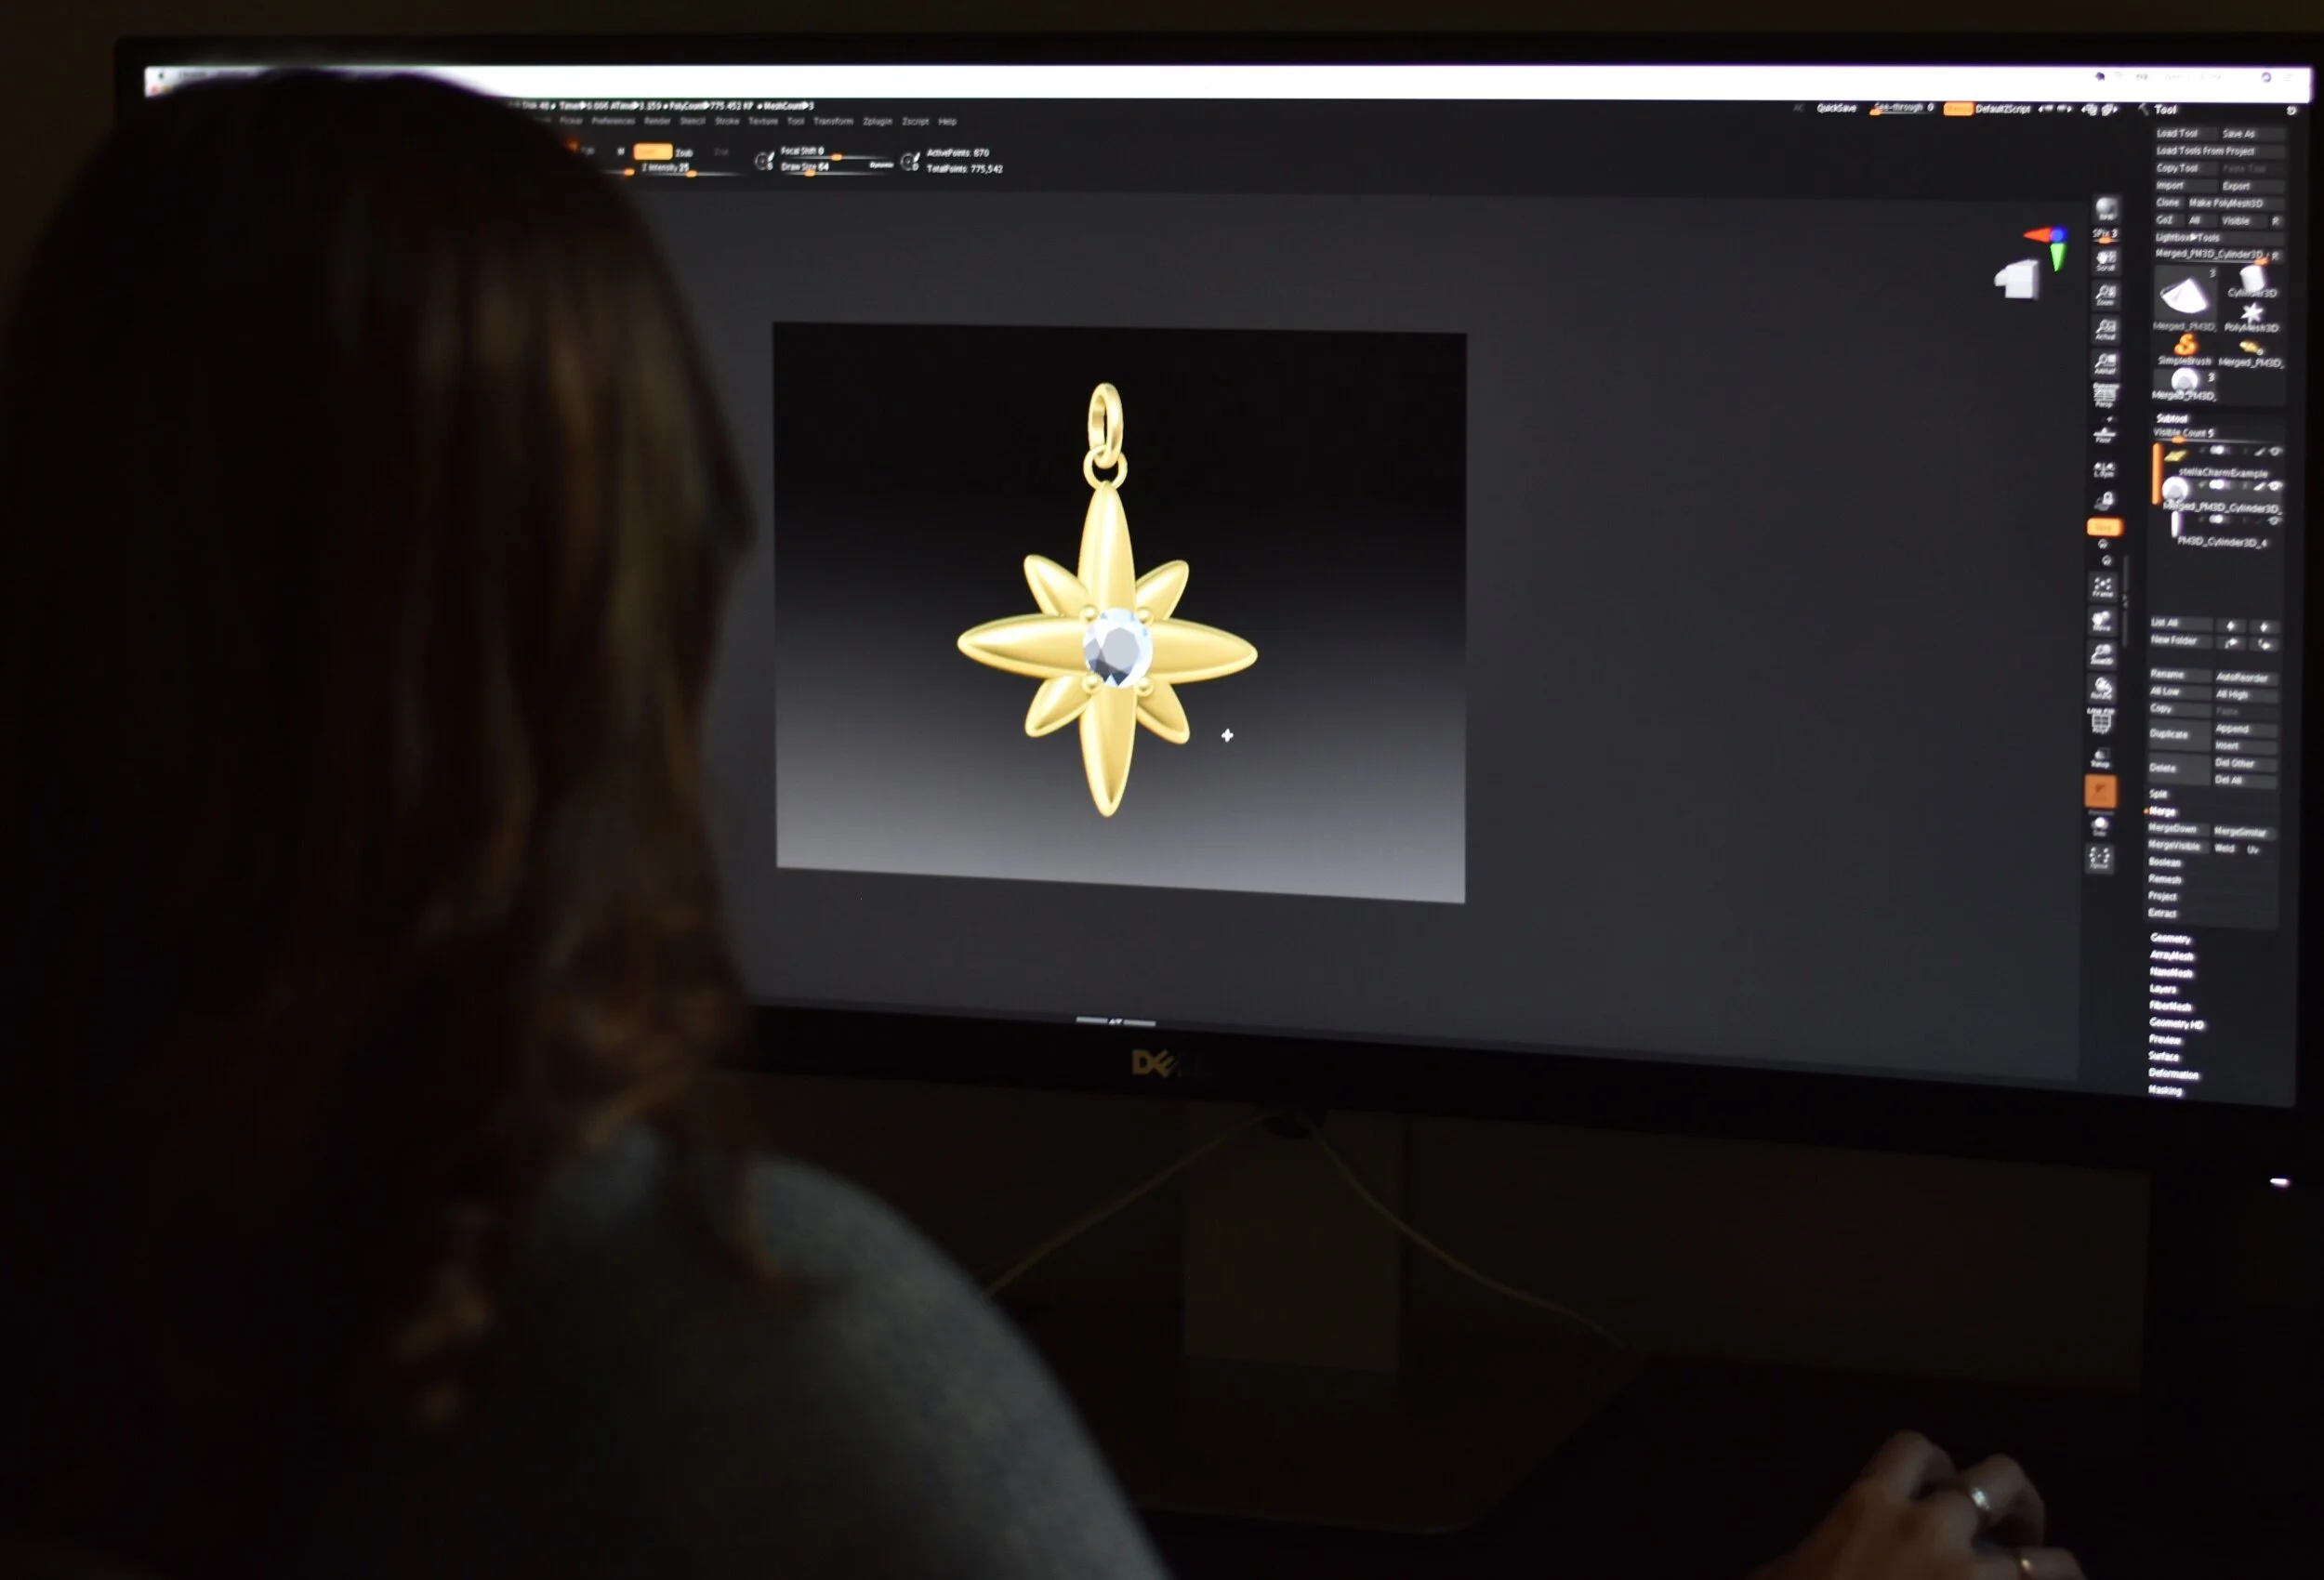
The Rendering
If Computer Aided Design (CAD) is required for a design, I will create a 3D rendering of the item. This will give us exact details of the jewelry, all the way down to .001mm. The rendering allows us to have a precise blueprint of your piece, making sure all the desired details are included.
3D Printed Wax Model
Once you have approved the rendering, your design is then 3D printed into a wax model. The model is a prototype of your jewelry, showing you the exact size, scale, and all of the details in your piece. After approval of the model, I then cast the model into the metal of your choice.
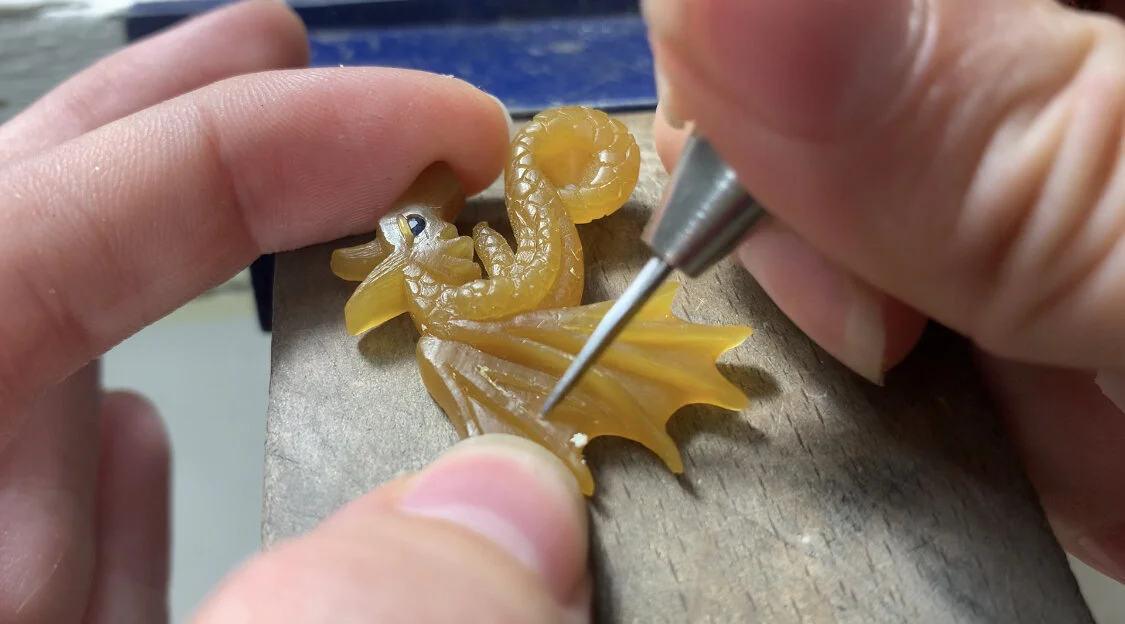
Hand Carved Model
Certain pieces of jewelry require me to carve out a wax model by hand. This is mostly done for organic shaped pieces. From there, you can approve the model and then I will cast it in the metal desired.
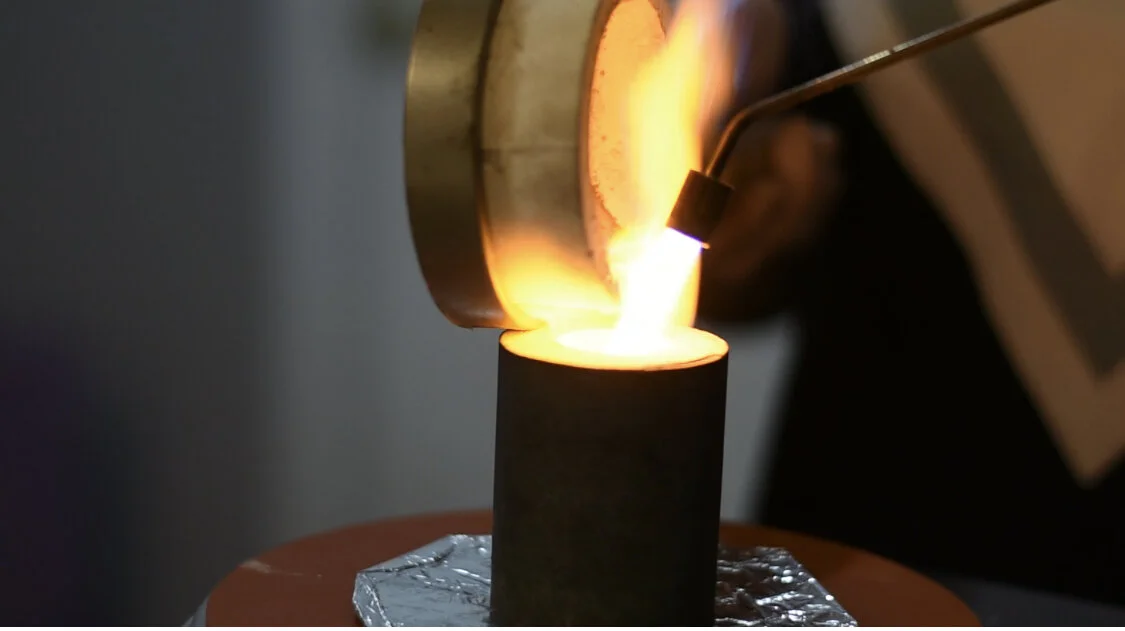
Casting
Whether the wax model is 3D printed or carved by hand, it must go through a process called Lost Wax Casting. It is a series of steps where a mold is made of the wax, the wax is melted out in a kiln (giving it the name “Lost Wax”), and molten metal is poured into the mold, resulting in a metal version of the wax model.
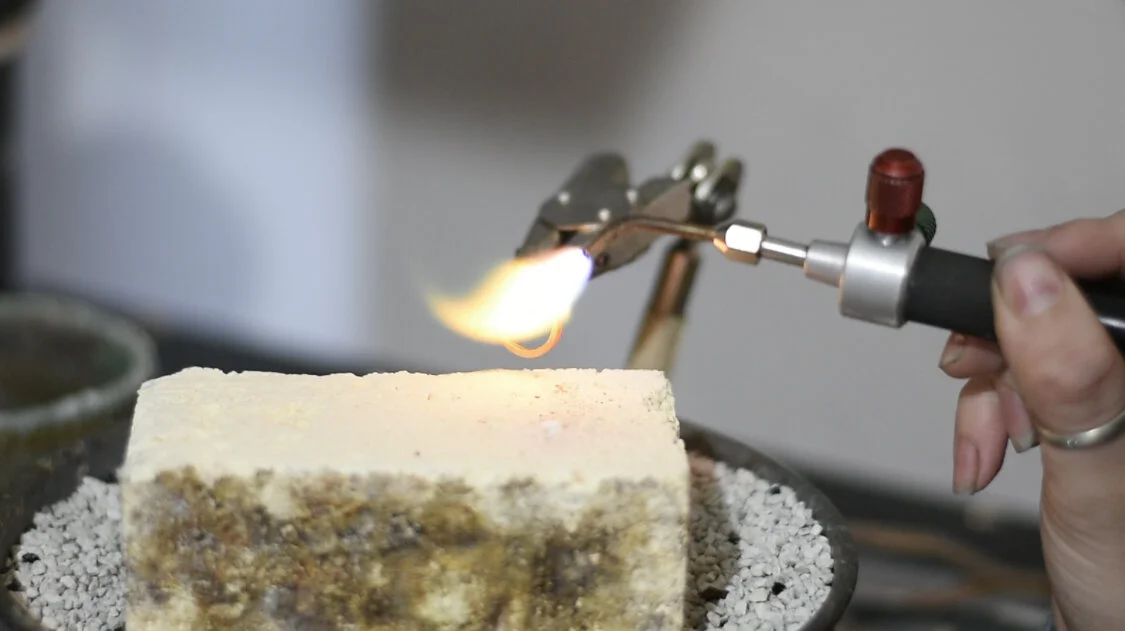
Fabrication
There are certain pieces of jewelry that are easily created with traditional fabrication. In this process, I will use your desired metal to create the components by hand and solder/fuse them together.
Stone Setting
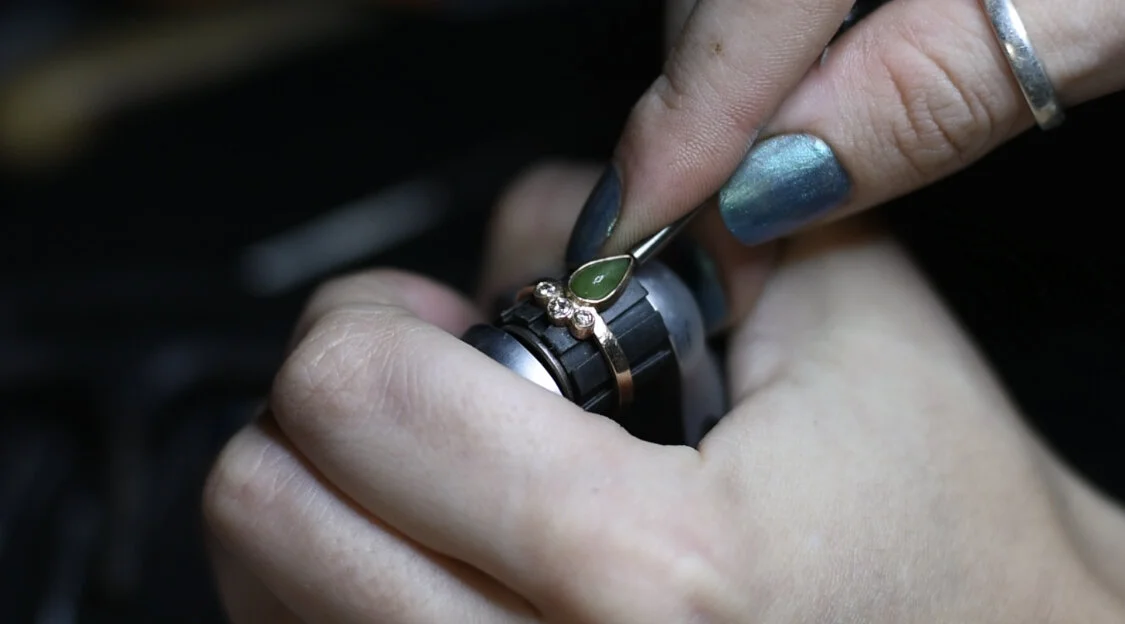
One of the most stunning parts of the creation process is when the stones are finally set. Seats are cut into the metal, allowing a space for the stone to sit. The metal is then pushed over the stone to secure it in place.

